The living room is where life happens—family gatherings, relaxing evenings, movie nights, and entertaining guests.
It’s one of the most used spaces in your home, which means it collects dust, clutter, crumbs, and hidden grime faster than you might expect.
Keeping it clean isn’t just about aesthetics—it creates a healthier, more comfortable space for everyone who lives there.
A proper deep cleaning goes beyond fluffing pillows and running a vacuum. It means addressing every surface, corner, and item so that your living room looks, smells, and feels truly refreshed.
In this complete guide, you’ll learn practical, room-by-room strategies for giving your living room a professional-grade clean and tips for maintaining it afterward.
Why a Deep Clean Matters in the Living Room
Because the living room is often the central hub of the home, it’s constantly exposed to foot traffic, food, pets, and everyday messes.
Over time, dirt settles in carpets, dust builds on electronics, and clutter begins to accumulate. Without regular deep cleaning, allergens thrive, odors linger, and your space starts to feel less inviting.
A deep-cleaned living room improves indoor air quality, protects your furniture, and provides a welcoming space for you and your guests. It’s also a great way to reset your space and reduce visual stress from clutter and disorganization.
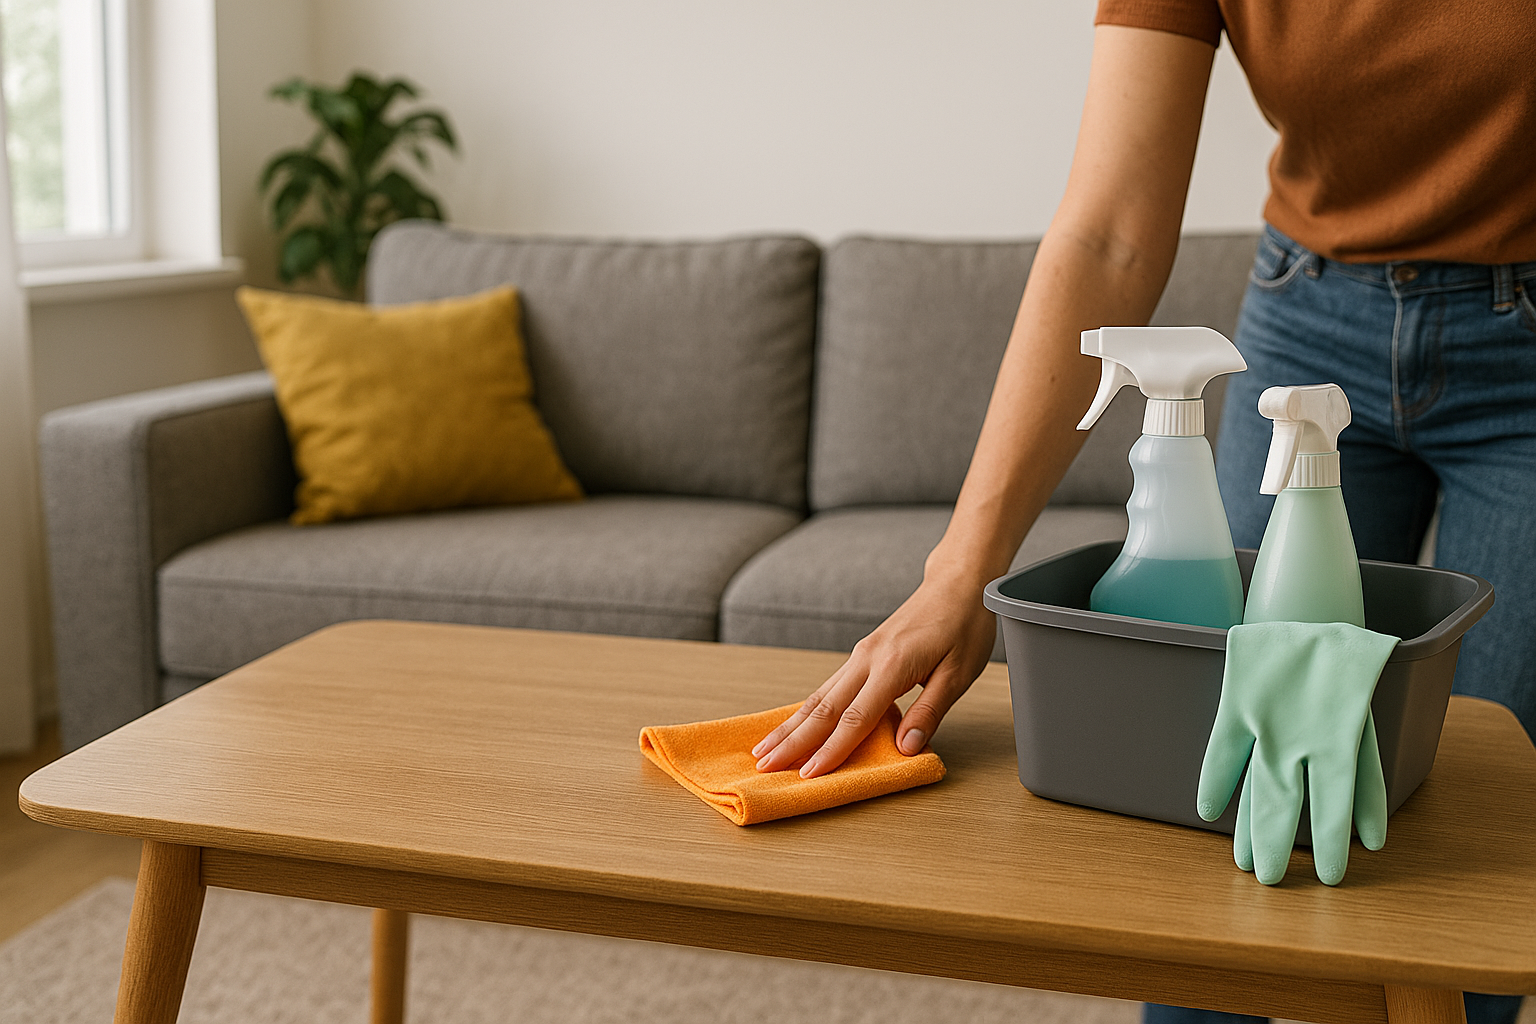
Gather Your Supplies
Having the right tools and supplies makes deep cleaning easier and more efficient. Before you begin, gather the following:
Vacuum with attachments
Microfiber cloths
Duster or extendable pole
All-purpose cleaner
Glass cleaner
Disinfectant spray or wipes
Carpet or upholstery cleaner
Lint roller or upholstery brush
Baking soda
Soft scrub brush
Step stool
Trash and donation bags
Once everything is ready, you can clean in sections without unnecessary interruptions.
Step 1: Declutter the Room
Before you can clean effectively, remove the clutter. Grab a laundry basket or bin and collect:
Unnecessary items from tables or shelves
Mail, magazines, and paper piles
Toys, pet items, or misplaced household items
Decor you no longer love or need
Separate items into things to put away, donate, or toss. Removing visual clutter helps you focus on the actual cleaning process and instantly makes the room feel more spacious.
Step 2: Dust from Top to Bottom
Start dusting at the highest points and work downward so you don’t spread dirt onto already-cleaned areas.
Use a microfiber duster or a long-handled tool to clean ceiling corners and crown molding
Dust ceiling fans and light fixtures—wipe fan blades carefully with a pillowcase or cloth
Wipe window sills, curtain rods, and baseboards with a damp cloth
Dust behind the TV, under shelves, and on electronics (use a dry cloth to prevent moisture damage)
Clean inside bookshelves, decor items, and frames
Don’t forget the tops of doors and high furniture pieces
Dusting first prevents dust from settling on freshly cleaned surfaces later.
Step 3: Wash Windows and Mirrors
Clean glass surfaces to let in more light and give the room a polished look.
Spray windows with glass cleaner or a vinegar-water mix
Wipe with a lint-free cloth or newspaper for streak-free shine
Clean both inside and outside if accessible
Wipe down window frames, latches, and sills
Use a small brush to clean out window tracks
Wash mirrors and glass coffee tables in the same way
Clean, bright glass makes the whole room feel more open and fresh.
Step 4: Clean Upholstered Furniture
Sofas, chairs, and ottomans collect dust, crumbs, and body oils over time.
Remove all cushions and vacuum every surface, including underneath
Use a lint roller to pick up pet hair and fine particles
Check tags for cleaning instructions—most can handle spot cleaning with mild soap and water or upholstery cleaner
For odor removal, sprinkle baking soda on fabric, let sit for 20 minutes, then vacuum
Flip or rotate cushions to extend their life and restore shape
Clean leather furniture with a gentle leather cleaner and conditioner
Keeping your furniture clean not only improves hygiene but also maintains appearance and comfort.
Step 5: Clean and Disinfect Hard Surfaces
Tables, shelves, and entertainment units need more than a quick dusting.
Wipe all surfaces with all-purpose cleaner or a damp microfiber cloth
Disinfect high-touch areas like remote controls, drawer handles, and light switches
Clean underneath decor items and rearrange to refresh the look
Use wood polish on natural wood surfaces to restore shine
Vacuum or dust under coffee tables and side tables where debris collects
Organized, clean surfaces help your space feel tidy and intentional.
Step 6: Vacuum and Clean Floors
Floors are one of the largest surfaces in the room and often the dirtiest.
Vacuum carpets and rugs thoroughly, using slow, overlapping passes
Use attachments for edges, baseboards, and under furniture
If you have hard floors, vacuum first, then mop using a gentle cleaner
Shake out or beat rugs outdoors, or spot clean if needed
Deep clean carpets with a rental or spot machine every few months for best results
Clean floors tie the room together and elevate the overall look of your space.
Step 7: Organize Storage Areas
Now that everything is clean, it’s time to organize. Start with visible storage, like bookcases, baskets, and media consoles.
Group similar items (books, remotes, chargers) together
Use bins or trays to hold small items and reduce visual clutter
Label baskets or containers if you store games, toys, or tech gear
Avoid overcrowding shelves—leave some empty space for a cleaner look
Store seasonal items elsewhere if they’re not in use
An organized living room is easier to maintain and feels calmer day-to-day.
Step 8: Refresh Soft Items
Small touches make a big difference.
Wash or replace throw pillow covers and blankets
Launder slipcovers if you use them
Vacuum or spot clean fabric lamp shades
Consider switching out pillows or throws seasonally for a fresh look
Add a plant or a bowl of citrus to brighten the space and add scent
Scented candles or essential oil diffusers also boost the clean feeling
Refreshing soft elements softens the space and keeps it cozy.
Weekly Maintenance Tips
Deep cleaning is essential every few months, but simple weekly tasks help your living room stay beautiful in between.
Vacuum high-traffic areas
Dust surfaces and electronics
Fluff pillows and fold blankets
Tidy remotes and magazines
Wipe spills immediately to prevent stains
Open windows when possible for fresh air
Put things back where they belong at the end of the day
These small actions add up to big improvements over time.
Final Thoughts: A Fresh Start for Your Living Room
Deep cleaning your living room doesn’t have to be overwhelming. With a clear plan and the right tools, you can refresh your space in a few hours and enjoy the benefits for weeks to come. A clean, organized living room sets the tone for your whole home—it encourages relaxation, helps reduce stress, and invites people to connect.
Start with the basics: declutter, dust, and clean your furniture. Then work your way through floors, fabrics, and storage. Once your deep clean is done, your maintenance routine will be quicker and easier—and your living room will always feel like the best place to be.

Márcio Luzardo is the creator of Dromiya, a site dedicated to practical home care and everyday living tips. Passionate about simplicity, organization, and smart routines, he shares clear, useful content to help people take better care of their homes with less stress and more confidence.
His goal is to make your daily life easier—one clean room, one helpful tip at a time.