The garage and storage room are often the most overlooked and underutilized spaces in a home. What starts as a place for tools, holiday décor, or extra supplies can quickly become a dumping ground for forgotten items, cluttered corners, and dusty chaos.
But with a proper system and a bit of determination, these spaces can be transformed into organized, functional areas that add real value to your home.
In this guide, you’ll learn step-by-step how to deep clean your garage or storage room, sort and categorize everything, and implement smart storage solutions that will keep things tidy for the long haul.
Why Cleaning These Spaces Is Essential
Garages and storage rooms often get neglected because they’re not living areas. But clutter in these zones can impact your whole home. When you can’t find tools, trip over gear, or leave items exposed to dust or pests, it creates stress and frustration.
Deep cleaning and organizing these spaces helps you:
Reclaim valuable square footage
Protect belongings from damage
Find what you need faster
Reduce fire hazards and improve safety
Create space for hobbies or projects
Even just a few hours of work can completely change how you use and feel about these areas.
What You’ll Need Before You Start
Make sure you have the right supplies on hand:
Broom or shop vacuum
Dustpan and trash bags
Microfiber cloths or rags
All-purpose cleaner or degreaser
Buckets, gloves, and sponges
Storage bins (clear or labeled)
Shelving units or pegboards
Labels or a label maker
A notepad or phone for inventory
You may also need a step ladder, drill, or basic tools if you’re installing storage systems.
Step 1: Empty the Space
Start by removing everything from the garage or storage room. Yes, everything.
Pull all items into the driveway, another room, or a cleared area
Sort as you go into these categories: Keep, Donate, Toss, Relocate
Don’t be afraid to let go of duplicates, broken items, or things you haven’t used in years
This is the biggest and most important step—it allows you to clean thoroughly and rethink how to organize the space
Set aside hazardous items (paint, chemicals, batteries) for proper disposal later
Step 2: Clean from Top to Bottom
Once the space is empty, give it a full deep clean.
Dust or vacuum cobwebs from ceiling corners, rafters, and lights
Wipe down shelves, walls, doors, and windows with a damp cloth
Clean floors thoroughly with a broom, vacuum, or shop vac
Scrub any oil or rust stains from the floor with a degreaser or baking soda paste
Clean vents or air returns if applicable
Let the area air out completely—fresh air helps remove musty odors
A clean base makes everything you put back feel more purposeful.
Step 3: Plan the Layout with Zones
Think about how you use the space and how to make it more functional.
Create zones for categories like:
Tools and hardware
Seasonal decorations
Sporting goods
Car maintenance supplies
Gardening tools
Household overflow (toiletries, paper goods, etc.)
Kids’ items or toys
Sketch a quick layout on paper to determine where each category will go. High-use items should be easily accessible, while rarely used items can go higher up or farther back.
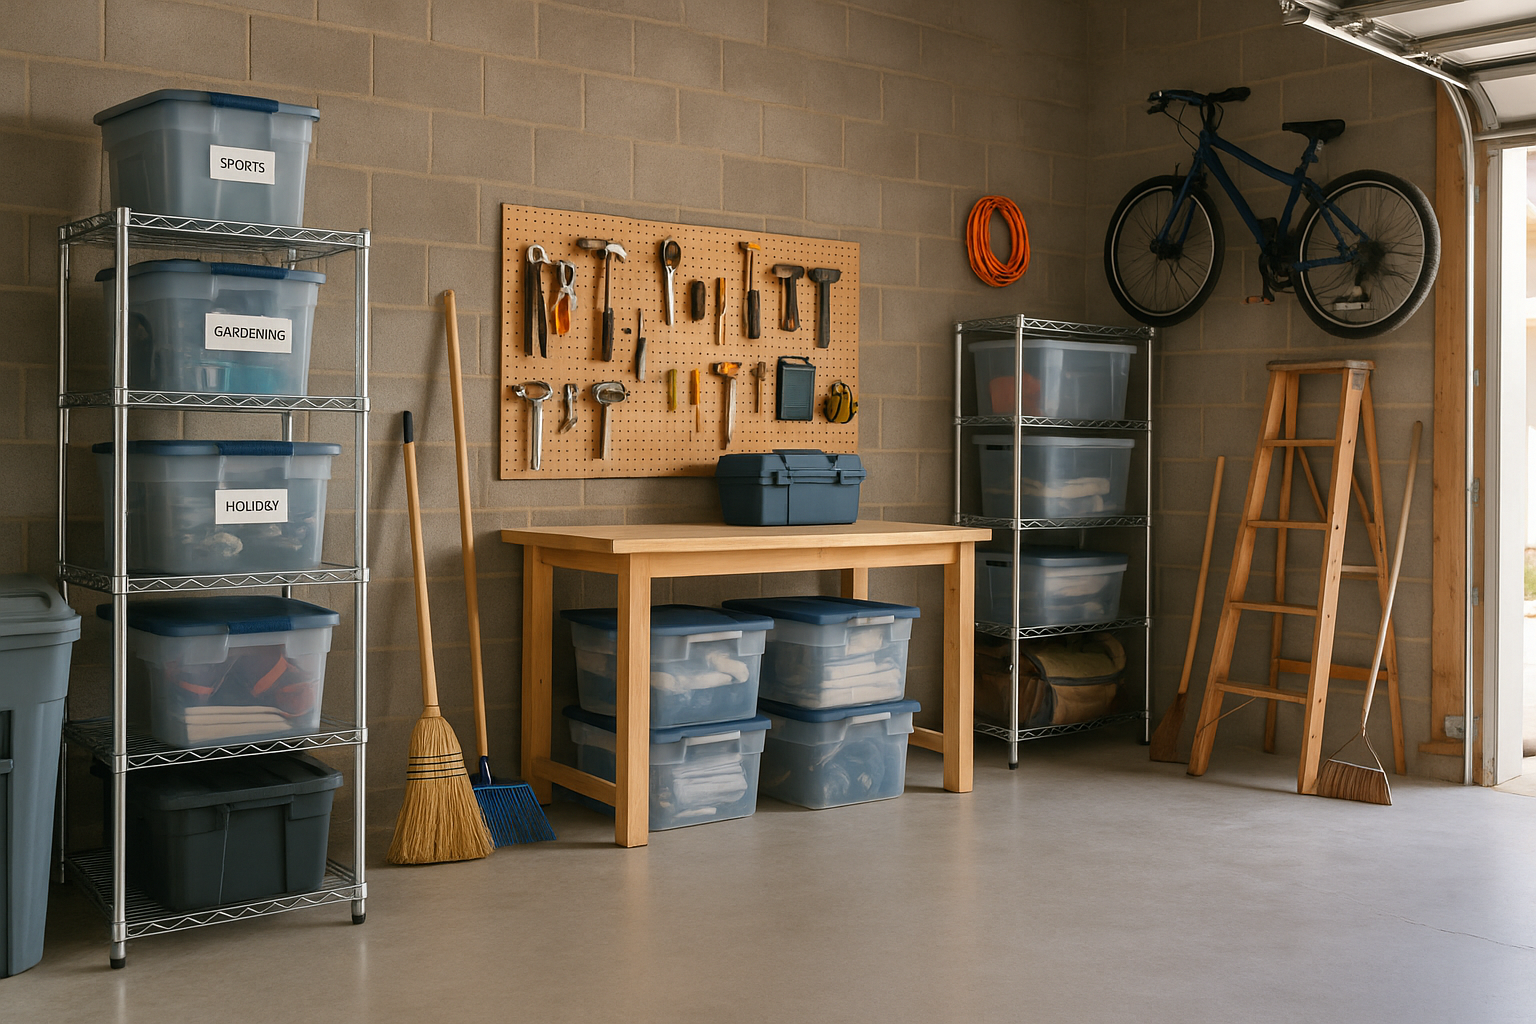
Step 4: Install Smart Storage Solutions
Once you have a plan, add the storage systems needed to keep it organized long-term.
Install shelves or cabinets along walls to get things off the floor
Use clear plastic bins or labeled totes to group smaller items
Add hooks, racks, or pegboards for tools, cords, or equipment
Use a ceiling-mounted rack or loft for large, lightweight items like holiday decorations
Hang bikes or ladders vertically to save space
Use drawer organizers or small bins inside cabinets for nails, screws, and hardware
Smart storage creates a permanent home for every item—and makes cleanup fast.
Step 5: Clean and Organize What You’re Keeping
Before placing anything back in the space, clean and inspect it.
Wipe down dusty bins, tools, or sports gear
Group similar items into the same containers
Label each bin clearly on multiple sides for visibility
Store items in zones: tools with tools, garden with garden, etc.
Keep most-used items at eye level or near the entrance
Heavy or hazardous items should be stored on low shelves for safety
Place infrequently used items (holiday lights, camping gear) higher or further back
Now everything is clean, intentional, and accessible.
Step 6: Get Rid of What You Don’t Need
Don’t let clutter creep back in. Dispose of items responsibly.
Donate usable tools, furniture, or gear to local charities
Take hazardous materials to the correct recycling or disposal center
Recycle cardboard boxes or broken plastic bins
List valuable items on resale apps or offer them to neighbors
The more you remove, the more space you create for what matters.
Step 7: Create a Maintenance Routine
Set a reminder every few months to do a quick reset.
Sweep the floor and wipe surfaces
Check for items that are out of place or no longer needed
Reorganize bins that have become jumbled
Update labels if your system has changed
Declutter after every major season change—especially after holidays or sports seasons
A little maintenance saves hours of work later.
Extra Tips for a Garage Used Daily
If you park your car in the garage or use it as a workshop, streamline those areas too.
Keep a boot tray or mat near the door to prevent mud and oil from tracking
Hang extension cords, hoses, and tools instead of piling them
Store car maintenance items (oil, windshield fluid) together in one bin
Add a bench or table with a tool chest if you use the space for projects
Mount a wall calendar or whiteboard for schedules or reminders
The more functional your garage, the more useful it becomes day to day.
Extra Tips for a Storage Room
Storage rooms inside the house tend to become catch-alls. Make yours more purposeful.
Use uniform bins or boxes to stack safely
Label seasonal bins clearly: “Winter Clothing,” “Halloween Decor,” etc.
Install shelves from floor to ceiling to maximize vertical space
Avoid cardboard boxes—they attract pests and degrade over time
Keep a small stepladder nearby for upper shelves
Store rarely used items farthest from the door
A tidy storage room keeps the rest of your home more organized too.
Safety and Climate Considerations
Both garages and storage rooms need a few precautions to keep items safe.
Avoid storing food, candles, or batteries in hot or damp areas
Keep flammable items away from heat sources or electrical panels
Use moisture absorbers or a dehumidifier if the space tends to get damp
Ensure heavy items are secured so they don’t fall
Label bins containing hazardous or sharp items
A well-managed space protects your home, health, and possessions.
Final Thoughts: Transform Chaos into Control
Cleaning and organizing your garage or storage room may feel overwhelming at first, but the reward is worth it. You’ll create space, regain control, and turn what used to be a mess into one of the most useful areas in your home.
Start with a total reset: empty, clean, plan, and rebuild with systems that are simple and practical. With a little upkeep throughout the year, these often-forgotten spaces will become some of your most efficient and valuable.

Márcio Luzardo is the creator of Dromiya, a site dedicated to practical home care and everyday living tips. Passionate about simplicity, organization, and smart routines, he shares clear, useful content to help people take better care of their homes with less stress and more confidence.
His goal is to make your daily life easier—one clean room, one helpful tip at a time.