The kitchen is the heart of the home—but it’s also one of the dirtiest. Between food splatters, grease, crumbs, and clutter, it’s easy for messes to build up quickly.
A regular surface wipe-down isn’t enough to keep things truly clean and hygienic. That’s where deep cleaning comes in.
In this guide, you’ll learn how to thoroughly clean your kitchen from top to bottom. We’ll break down the process into manageable steps and zones, show you what tools and products you need, and offer tips to help you maintain a spotless, functional cooking space all year round.
Why Deep Clean Your Kitchen?
Deep cleaning your kitchen at least once every 1–3 months helps to:
- Eliminate grease and bacteria buildup
- Prevent pests and odors
- Extend the life of your appliances
- Make daily cleaning easier
- Create a more inviting cooking and eating space
Whether you’re tackling spring cleaning or just trying to reset your space, this guide will help you do it thoroughly and efficiently.
What You’ll Need
Supplies:
- Microfiber cloths and sponges
- Scrub brushes and an old toothbrush
- Dish soap
- White vinegar
- Baking soda
- All-purpose cleaner (store-bought or homemade)
- Degreaser spray
- Glass cleaner
- Disinfecting spray
- Bucket of hot soapy water
- Trash bags
- Step stool or ladder
Optional:
- Vacuum or broom
- Steam cleaner
- Stainless steel polish
- Lemon or essential oils for scent
Step 1: Declutter and Prep
Before you start scrubbing, clear out your space so you can access every surface.
- Remove all items from countertops, drawers, and shelves
- Toss expired food from the fridge, pantry, and spice rack
- Take out the trash
- Run the dishwasher or empty the sink
- Play music or set a timer to stay motivated
Step 2: Start from the Top
Always work top to bottom to prevent dirt from falling onto already-cleaned areas.
Cabinets and Shelves:
- Dust the tops of cabinets with a microfiber cloth
- Wipe cabinet doors with warm water and dish soap or a vinegar spray
- Clean hardware and handles with disinfectant or rubbing alcohol
- For greasy cabinets, use a degreaser spray and scrub gently
Light Fixtures:
- Turn off the lights
- Dust or wipe with a damp cloth
- Remove glass covers and wash them in warm soapy water
Ceiling Corners and Vents:
- Use a duster or vacuum attachment to remove cobwebs and dust
- Wipe air vents with a damp cloth
Step 3: Deep Clean Appliances
Refrigerator:
- Unplug (optional) and remove all contents
- Wipe down shelves and bins with a vinegar and water mix
- Soak sticky drawers in the sink
- Wipe exterior and handles with disinfectant
- Vacuum the coils (if accessible)
- Add an open box of baking soda inside for odor control
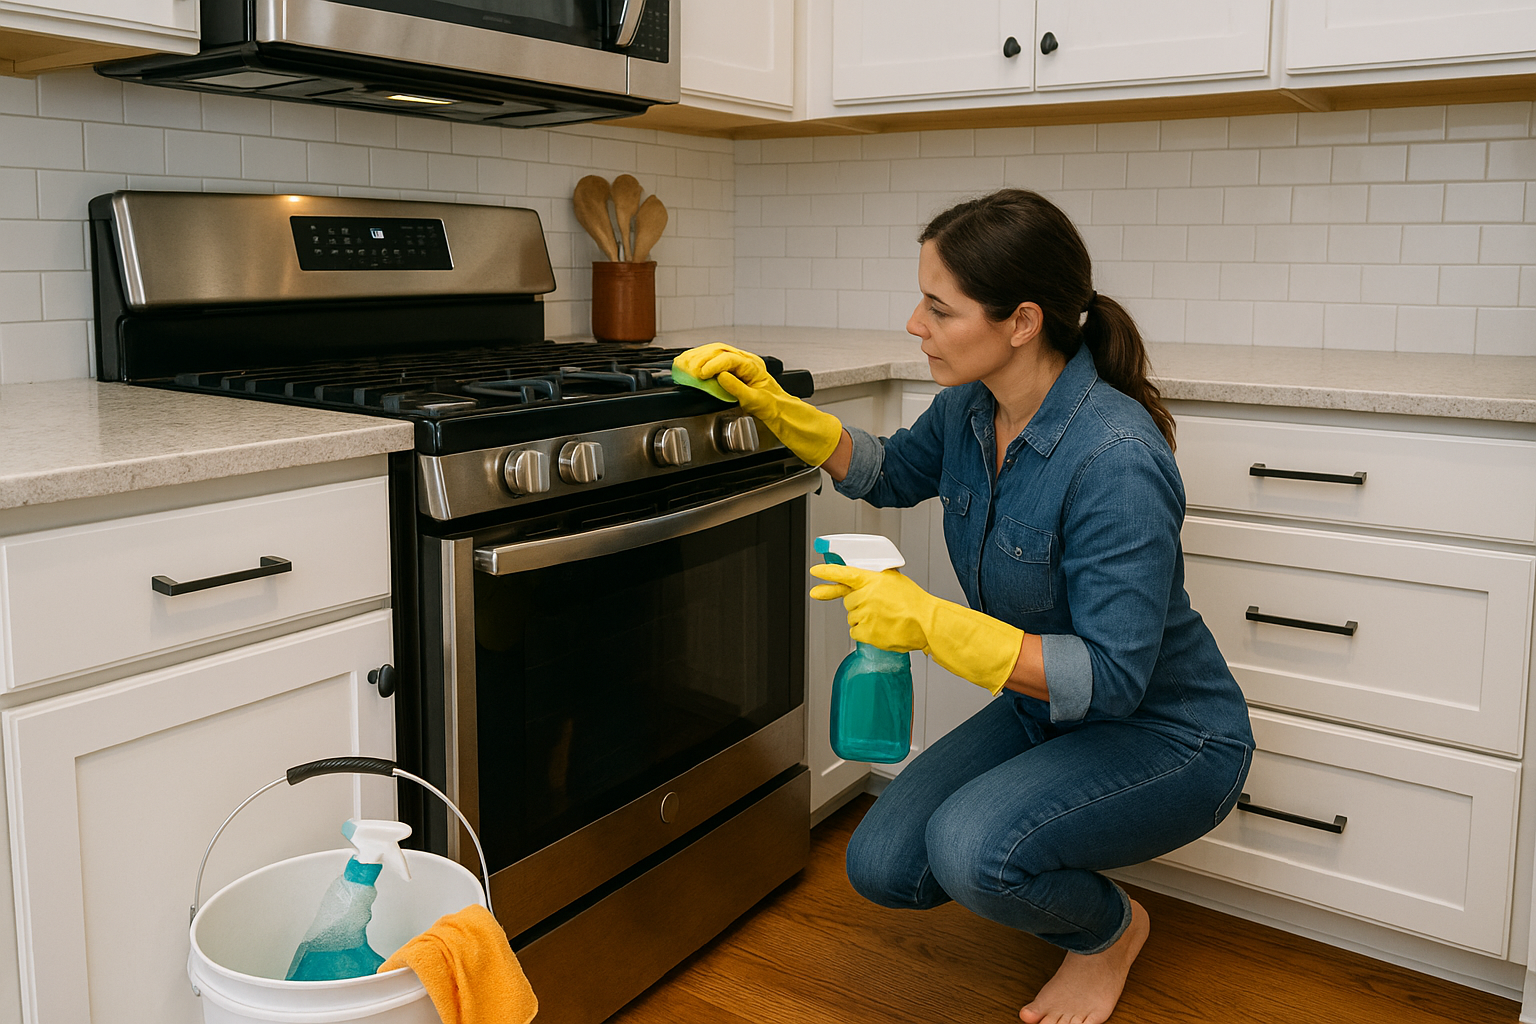
Oven and Stovetop:
Oven interior:
- Remove racks and soak in hot soapy water
- Use a baking soda paste (3:1 ratio with water) on oven walls
- Let sit overnight and spray with vinegar before wiping off
Stovetop:
- Remove burner grates and knobs
- Clean with degreaser or vinegar spray
- Use a toothbrush for crevices
Range hood filter:
- Remove and soak in hot water with dish soap + baking soda
- Scrub and rinse thoroughly
Microwave:
- Place a bowl of water + lemon slices inside
- Microwave for 2–3 minutes
- Let sit with the door closed for 5 minutes
- Wipe interior clean with a sponge
Dishwasher:
- Remove bottom rack and clean the drain trap
- Run an empty cycle with 1 cup vinegar in a bowl on the top rack
- Wipe door seals and buttons with soapy water
Small Appliances:
- Wipe toasters, coffee makers, and blenders
- Empty crumb trays and descale water reservoirs
- Use a toothbrush to scrub buttons and seams
Step 4: Cabinets and Drawers
- Remove items one section at a time
- Vacuum crumbs from drawers
- Wipe interiors with warm soapy water or vinegar spray
- Clean organizers and trays
- Re-line drawers if needed
- Group similar items when replacing (e.g., spices, baking supplies)
Step 5: Countertops and Backsplash
Countertops:
- Remove everything from the surface
- Use appropriate cleaner for the material:
- Granite/stone: Dish soap and water or stone-safe cleaner
- Laminate: Vinegar + water
- Wood/butcher block: Vinegar or lemon juice, then mineral oil
Backsplash:
- Spray with degreaser or vinegar solution
- Wipe with a cloth or sponge
- Scrub grout with baking soda paste and toothbrush if needed
Step 6: Sink and Faucet
- Sprinkle baking soda in the sink
- Scrub with a sponge and rinse with vinegar
- Pour boiling water down the drain
- Clean the faucet and handles with vinegar and polish dry
- Use lemon rind to shine stainless steel
Optional: Place a few drops of essential oil in the drain for freshness.
Step 7: Floors
Sweep or vacuum first to remove crumbs.
Then mop:
- Use a bucket of warm water with dish soap or vinegar (avoid vinegar on wood)
- Mop in sections, rinsing frequently
- Dry with a towel to prevent streaks or slips
Grout tips:
- Use a baking soda and water paste
- Scrub with a toothbrush
- Spray with vinegar, let fizz, then rinse
Step 8: Final Touches
- Wipe trash cans inside and out with disinfectant
- Replace liners
- Clean baseboards with a damp cloth
- Wash dish drying racks and mats
- Reorganize items on countertops—only essentials
- Light a natural candle or simmer pot for freshness
Maintenance Tips to Keep the Kitchen Clean Longer
- Wipe spills immediately to avoid stains
- Use a compost bin or food scraps container to control odor
- Run your dishwasher daily or every other day
- Declutter weekly to prevent buildup
- Create a cleaning caddy for quick spot-cleaning
- Assign zones or days (e.g., Monday: fridge, Friday: floor)
Daily 5-minute routine:
- Clear and wipe counters
- Load the dishwasher
- Wipe stove and sink
- Sweep the floor
- Take out trash if full
Final Thoughts: Clean Kitchen, Clear Mind
A deep-cleaned kitchen not only looks and smells better—it also inspires healthier cooking habits, reduces stress, and brings a sense of peace to your home. By following this room-by-room guide, you’ll tackle every corner and crevice with confidence.
Set aside a few hours each season (or each month) for a reset. And remember, once you’ve done the heavy lifting, keeping it clean is much easier with small daily and weekly routines.

Márcio Luzardo is the creator of Dromiya, a site dedicated to practical home care and everyday living tips. Passionate about simplicity, organization, and smart routines, he shares clear, useful content to help people take better care of their homes with less stress and more confidence.
His goal is to make your daily life easier—one clean room, one helpful tip at a time.